¶ Zappi EV charger
We are using this homeassistant custom integration to connect to the myenergi system, which also gives us control to the Eddi solar diverter.
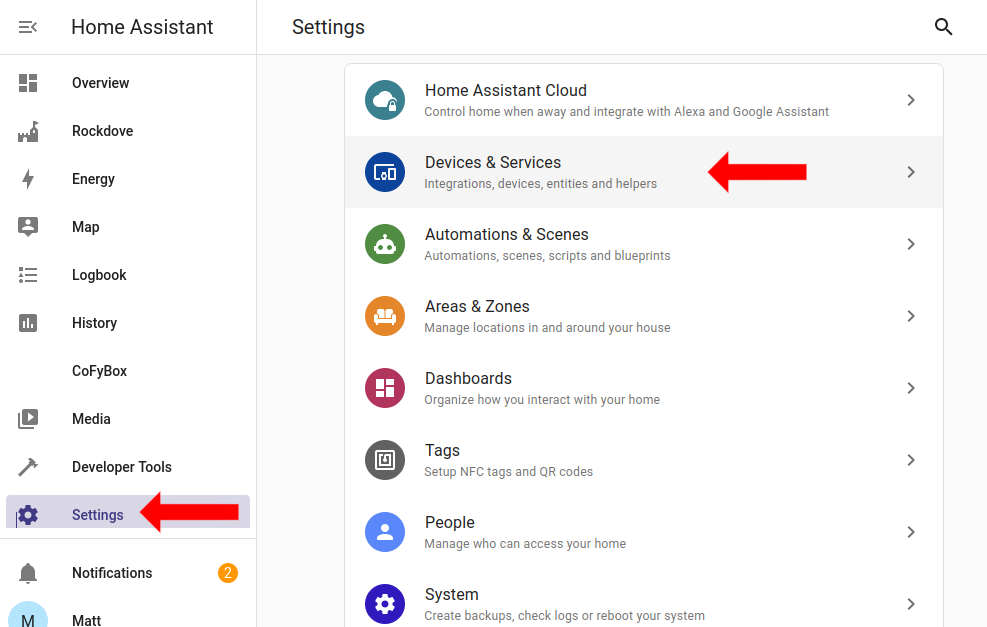
¶ Add Myenergi integration
- Go to Settings -> Devices & Services
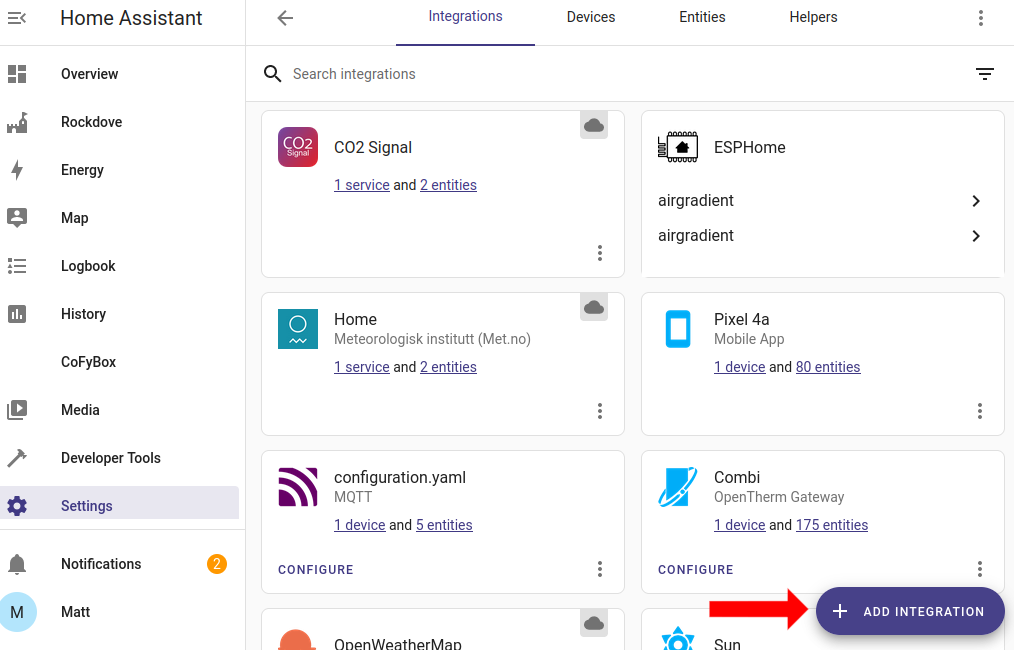
- You should now be on the integrations page, choose "Add integration"
- You can either find myenergi in the list or type the first few letters to auto-sort.
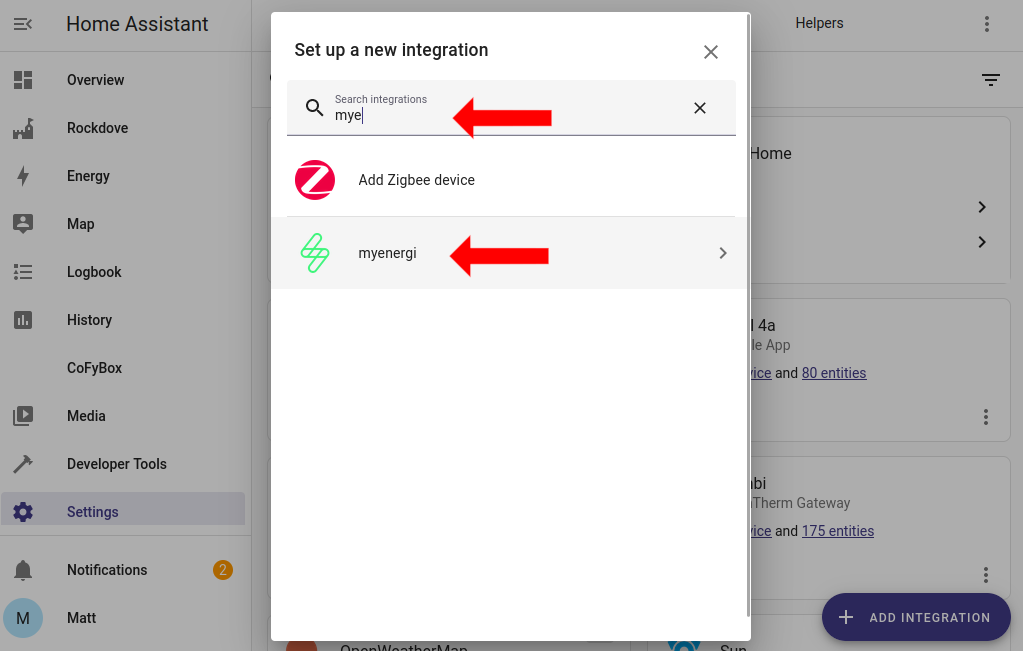
- Double clicking the integration starts the install process, after two minutes you will be asked for user credentials
¶ Entering User credentials
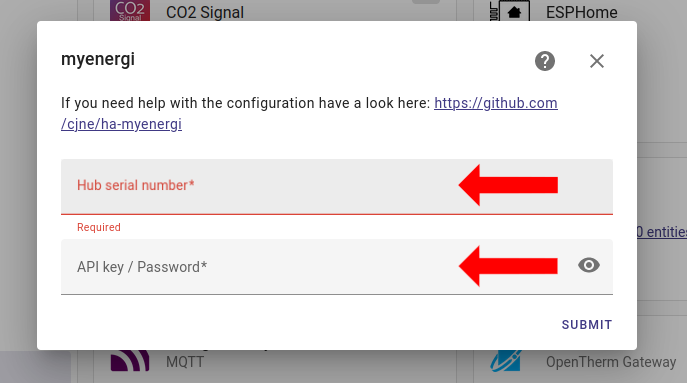
- Enter the serial number of the device (which is printed on the device itself), this could be the zappi for newer internet connected models or the myenergi hub.
- The second box requires the customers myenergi password or an API key for https://myaccount.myenergi.com
We recommend asking the user to create an API key* on their myenergi account as it means we don't have access to the user password and the the user retains the right to withdraw access.
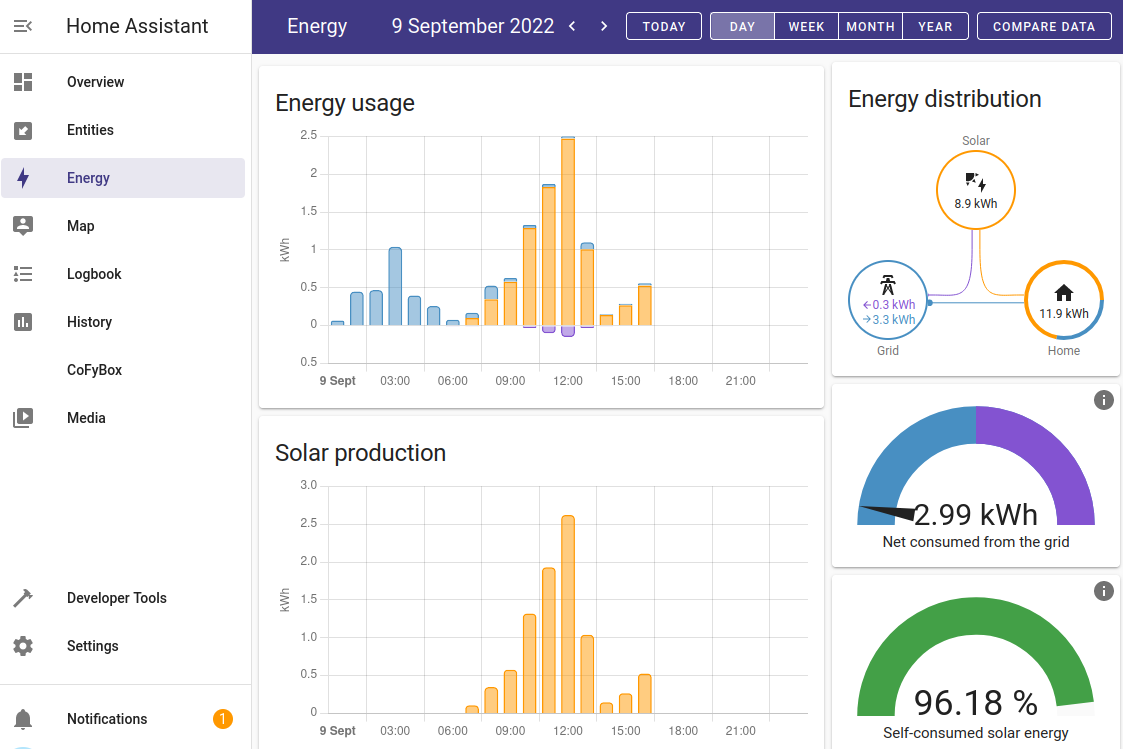
¶ Setting up the local energy dashboard
- Selection 'Energy' in the left side bar to setup your local energy dashboard. Below are the fields which should be entered in each location.
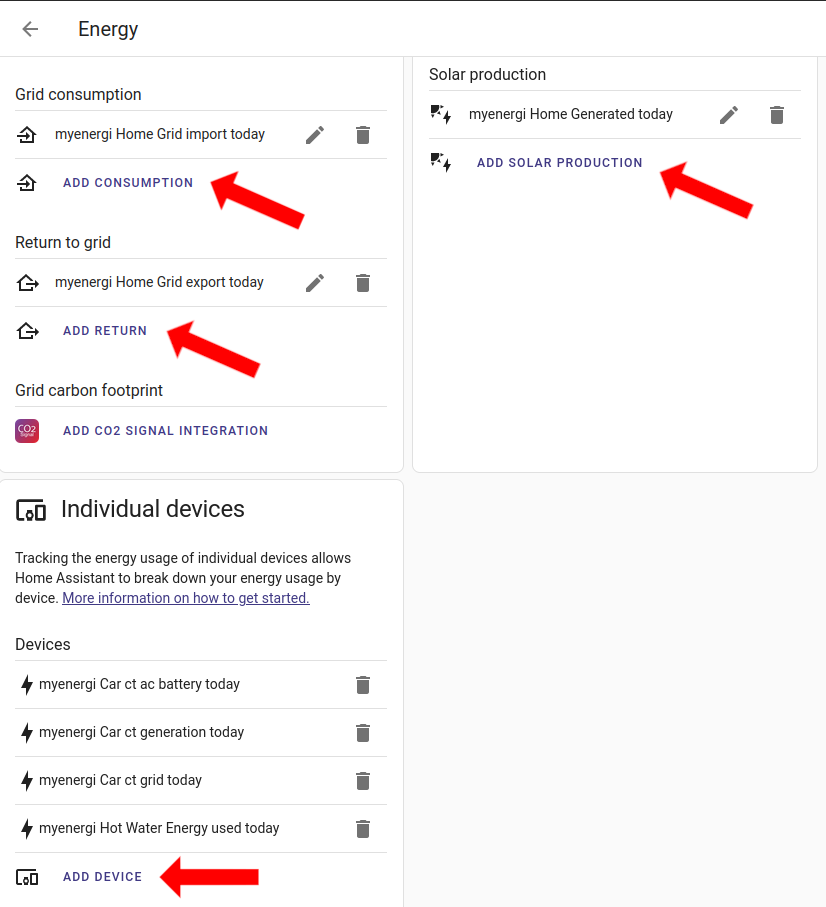
- You dashboard should now appear as follows